How to Convert a Photo to SVG for Cricut (Step-by-Step Guide)
If you’ve ever tried to use Cricut Design Space’s built-in trace feature on a photo, you know the frustration. You upload a great image, hit “Complex,” adjust colors, erase backgrounds… and the result is still a mess of jagged edges, tiny fragments impossible to weed, and lost details.
The problem is that Design Space uses basic color-separation tracing. It looks at pixel colors, lets you select regions with a wand tool, and draws paths around them. It doesn’t actually understand what’s in the image, so it traces noise, shadows, and compression artifacts alongside your subject.
In this guide, we’ll cover the full workflow from choosing the right photo to applying a finished vinyl decal, using AI-powered conversion to skip the painful manual steps.
What You’ll Need
- A photo you want to convert (JPG, PNG, or WebP)
- A free Lineart.ink account (you get 100 credits on signup, enough for 5 conversions)
- Cricut or Silhouette cutting machine
- Vinyl (adhesive or HTV depending on your project)
- Weeding tools
- Transfer tape (for adhesive vinyl projects)
- Scraper or old credit card for burnishing
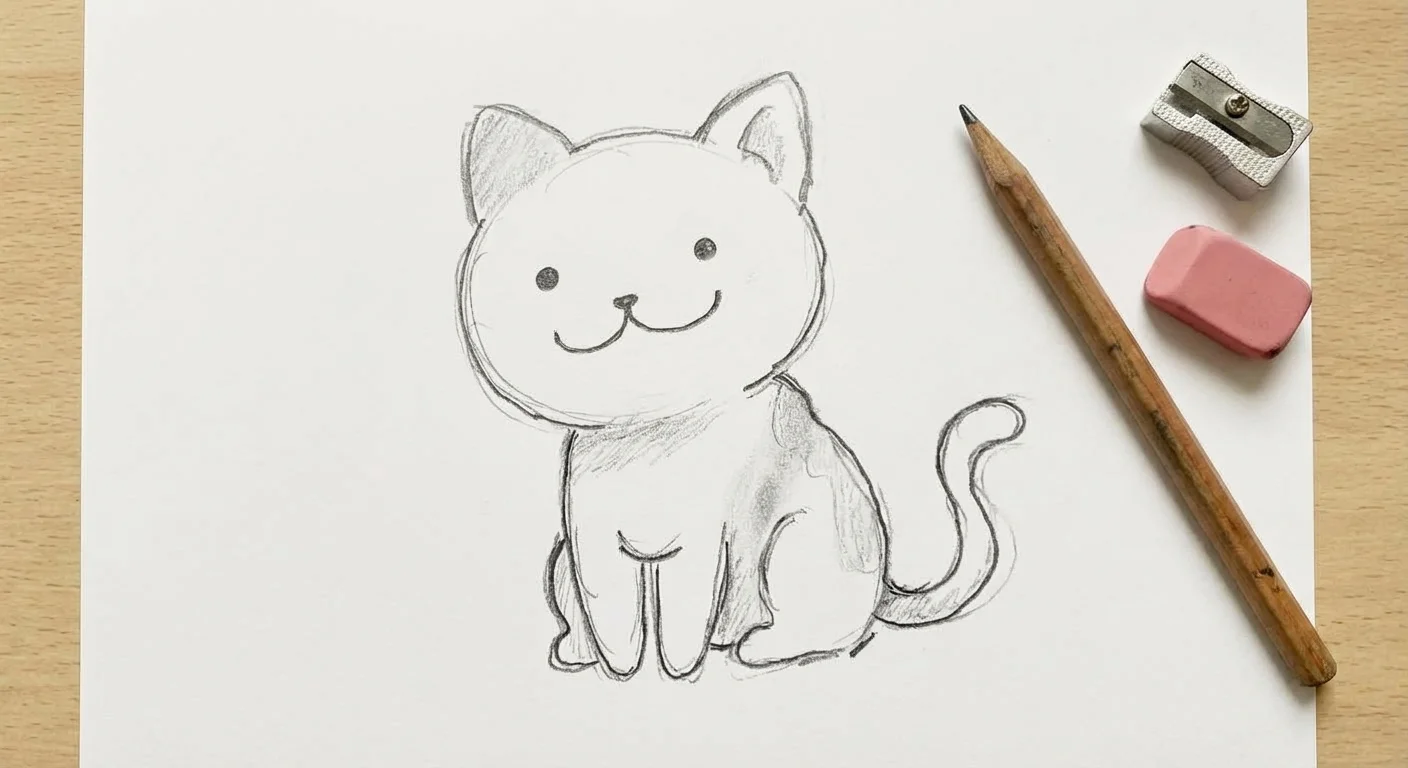
Step 1: Choose and Prepare Your Photo
Not every photo converts well. The AI does the heavy lifting, but starting with a good image makes a huge difference.
What works best
- High-contrast subjects with clear edges: pet portraits, flowers, silhouettes, logos
- Simple backgrounds or solid backgrounds that separate clearly from the subject
- High resolution: 1000px or wider is ideal. Phone photos work great
- Good lighting: even, natural light with minimal shadows on the subject
What to avoid
- Busy backgrounds with lots of detail (trees, crowds, shelves)
- Low-contrast images where the subject blends into the background
- Blurry or heavily compressed images (screenshots, low-quality downloads)
- Multiple overlapping subjects
Quick prep tips
If your photo isn’t ideal, a quick edit can help:
- Crop tight around your subject to remove distracting background elements
- Increase contrast slightly in your phone’s photo editor
- Remove the background first using a free tool like remove.bg if the background is complex. This gives the AI a cleaner starting point
- Straighten the image if you’re working with a scan or angled photo
You don’t need Photoshop for this. Your phone’s built-in editor or any free online tool works.
Step 2: Upload and Convert with Lineart.ink
Head to lineart.ink and upload your image. Drag and drop it onto the upload zone, or click to browse your files.
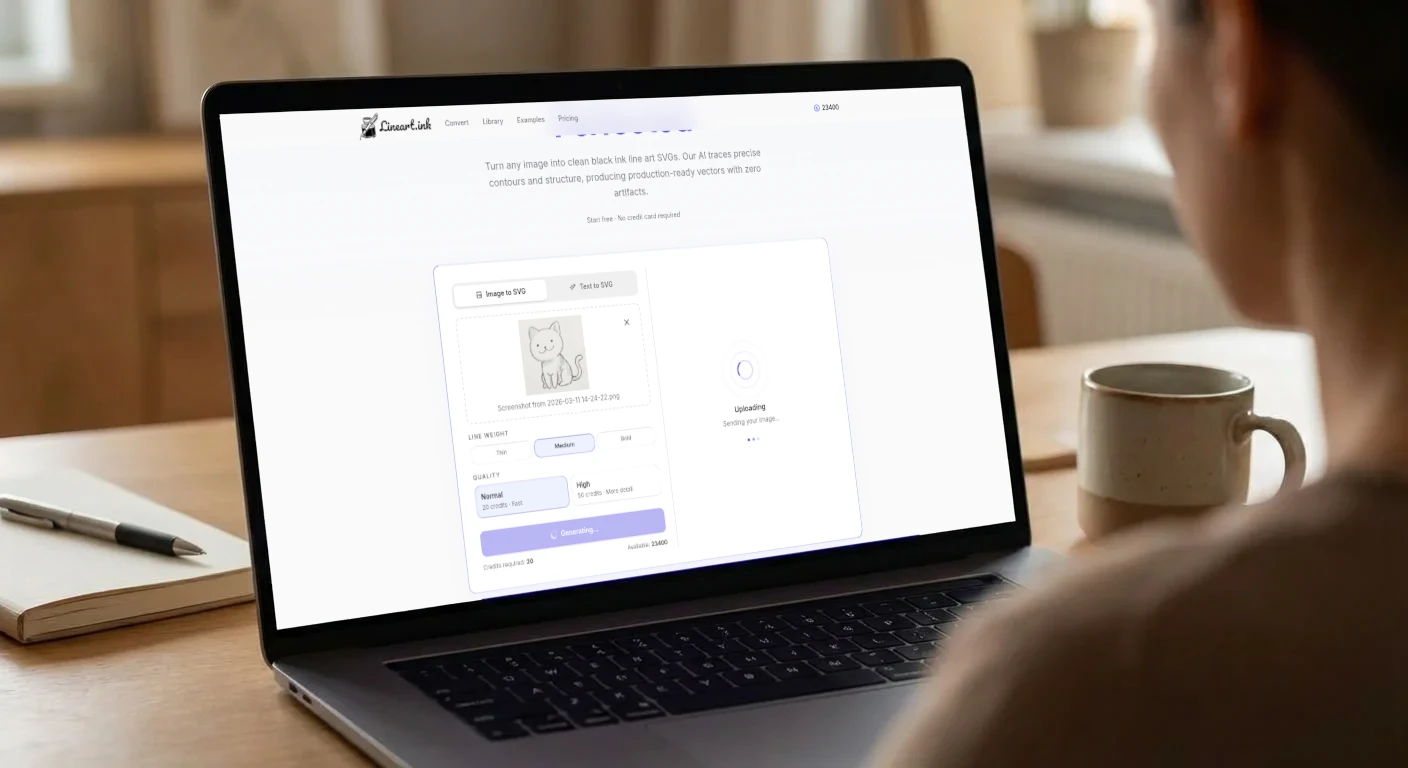
Before hitting Generate, choose your settings:
Line Weight
- Thin: Best for detailed images with lots of fine elements. Produces more intricate cut paths
- Medium: Good all-around default. Balances detail with weedability
- Bold: Best for simple subjects. Produces thicker lines that are much easier to weed
For your first try, Medium is a safe choice. If the result has too many tiny pieces to weed, switch to Bold. If you’re losing detail, try Thin.
Quality
- Normal (20 credits): Fast and reliable. Great for simple images with clear subjects like logos, silhouettes, and bold line art
- High (50 credits): Spends more time analyzing your image. Better at preserving fine details, handling complex edges, and producing cleaner results on difficult photos
For a simple pet portrait or logo, Normal is usually sufficient. For detailed images like flowers with many petals or intricate hand-drawn art, High is worth the extra credits.
Hit Generate SVG and wait 10-30 seconds. The AI analyzes your image, identifies the subject, traces clean vector paths, and produces a cut-ready SVG.
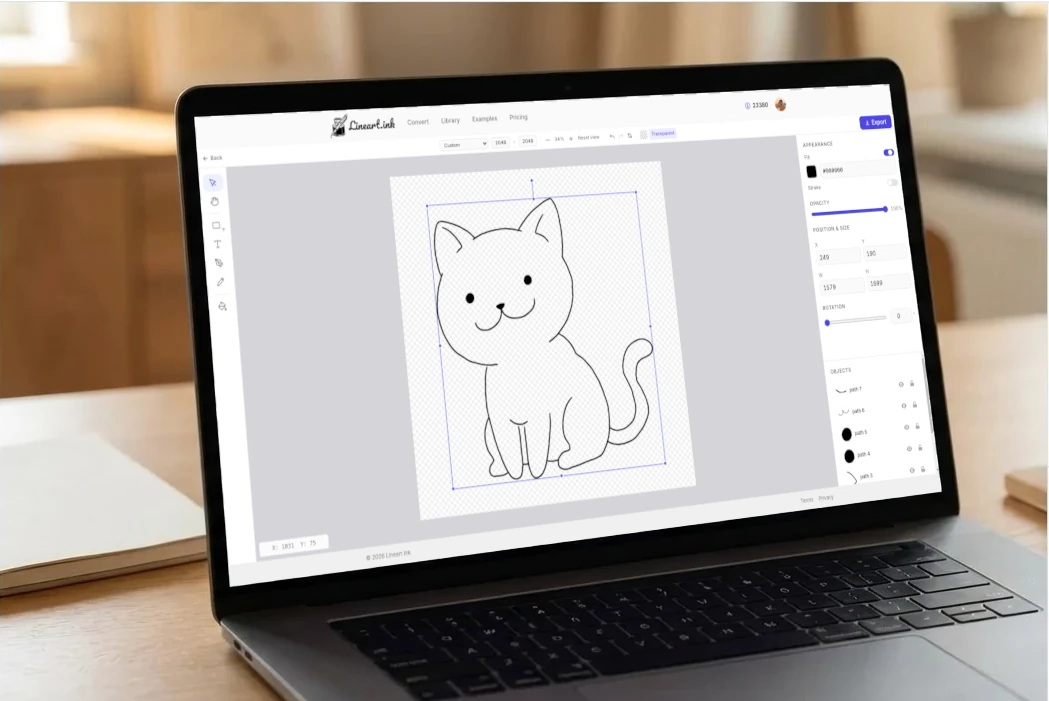
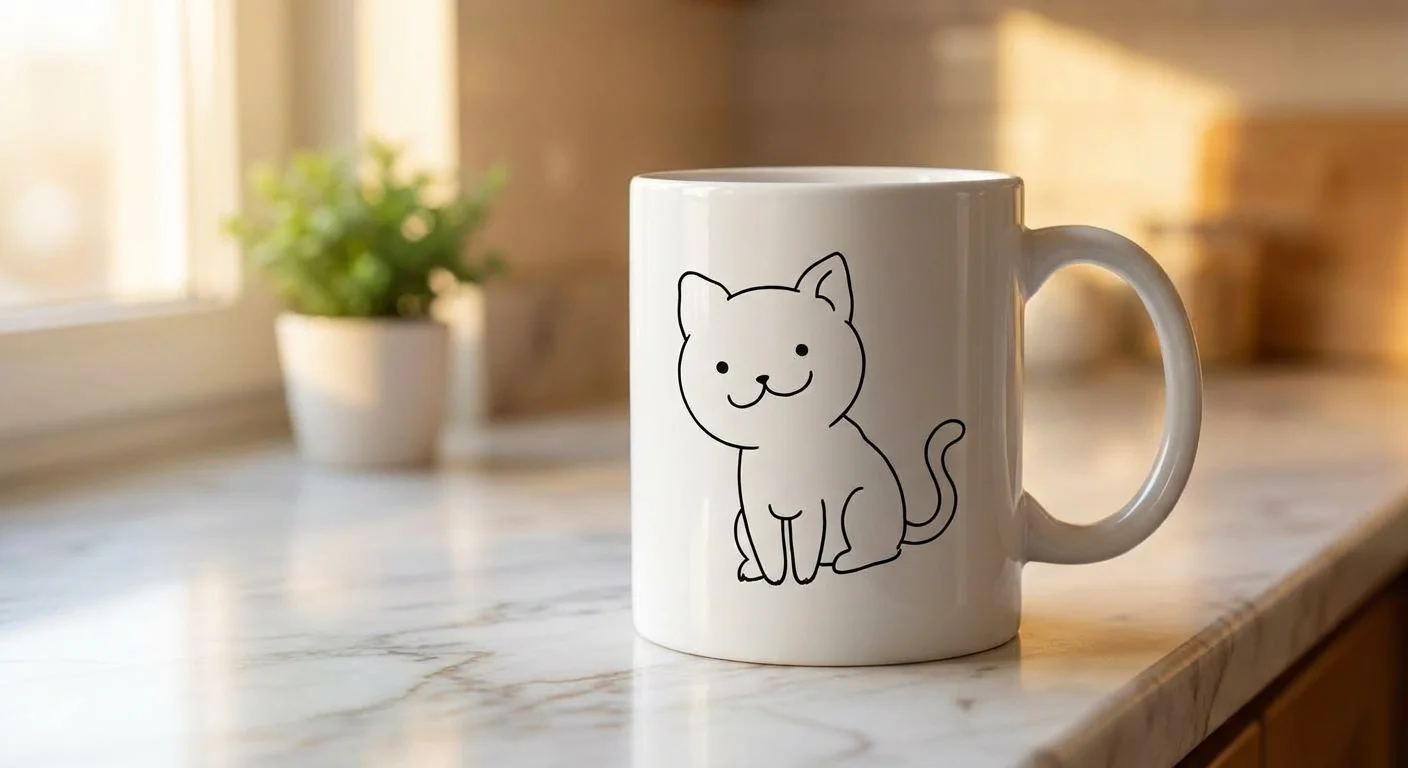
Here’s the actual SVG output from converting our cat sketch. Click to zoom in and inspect the clean vector paths:
Why this is different from Design Space’s trace
Design Space’s built-in converter works by looking at pixel color differences and drawing paths around them. This means:
- Shadows become cut lines
- JPEG compression artifacts become tiny fragments
- Gradients create hundreds of unnecessary paths
- You spend 30+ minutes erasing, adjusting color counts, and cleaning up
The AI approach actually understands the content of your image. It identifies edges, contours, and structure, then generates clean vector paths that follow the real lines of your subject. No shadow artifacts, no compression noise, no tiny unweedable fragments.
Step 3: Review and Edit
Once the conversion is done, you’ll see your SVG result. Review it before downloading:
What to check
- Are all the important details there? The main subject should be clearly recognizable
- Are there stray marks or artifacts? Small dots or lines that aren’t part of the design
- Is the level of detail appropriate for cutting? Very fine details may be hard to weed in small sizes
Optional: Edit in the SVG Editor
If you need to make tweaks, open the file in Lineart.ink’s built-in editor. You can:
- Delete unwanted elements: Click on stray marks or background artifacts and delete them
- Adjust line thickness: Select paths and change stroke width
- Add text: Include a name, date, or caption
- Resize: Scale the design before export
- Rearrange layers: Move elements forward or backward
This is also where you can clean up any small imperfections the AI might have included. Most conversions don’t need editing, but for perfectionists it’s there.
Click Export and select SVG when you’re satisfied.
Step 4: Import into Cricut Design Space
Open Cricut Design Space on your computer (the desktop app has more features than mobile).
- Click Upload in the left panel
- Click Upload Image
- Select your downloaded SVG file
- Give it a name and click Upload. Since it’s an SVG, the vector paths are already defined. No tracing, no cleanup, no color selection needed
- Select your uploaded image and click Add to Canvas
Sizing your design
SVG files are resolution-independent, so you can resize freely without losing quality. Consider your target surface:
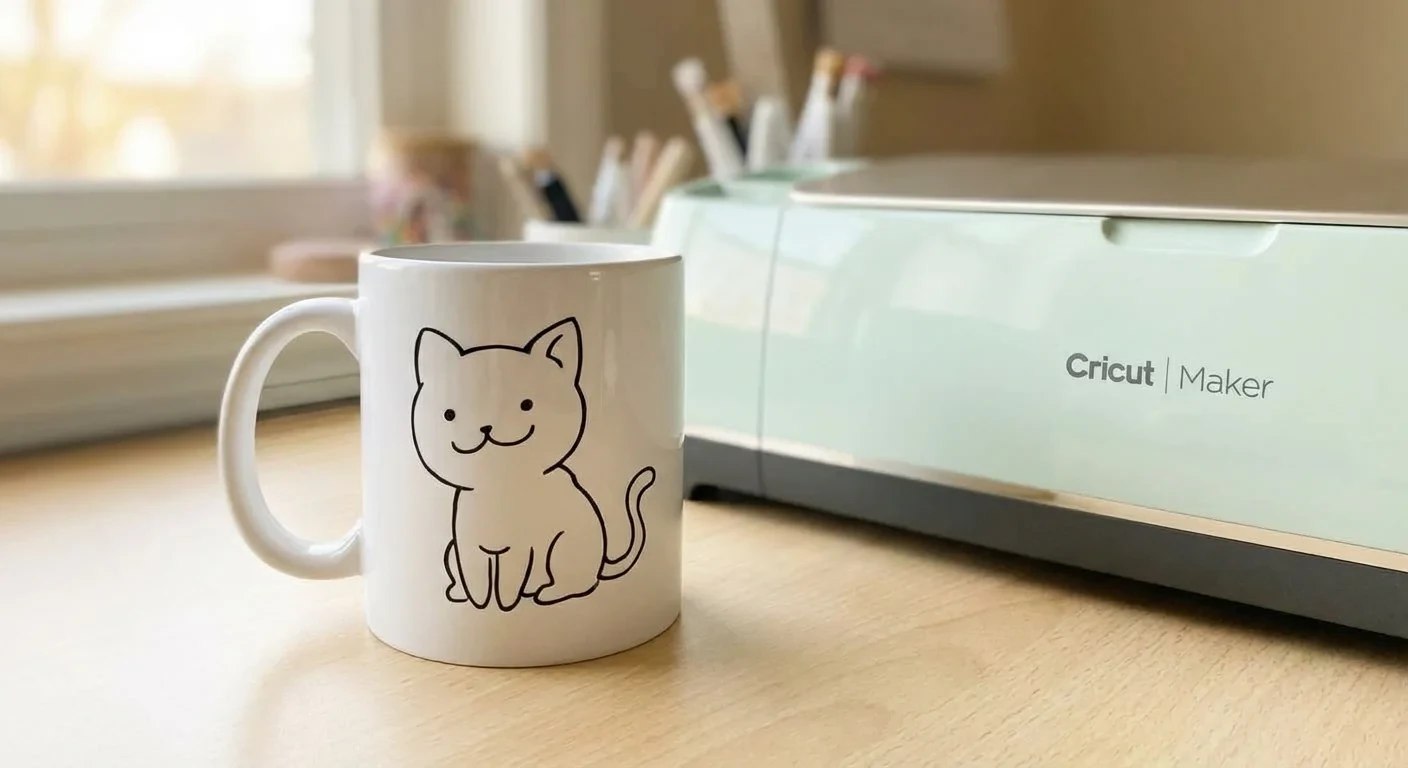
- Mugs/tumblers: 3-4 inches wide typically works well
- T-shirts: 8-10 inches wide for a front chest design
- Laptop stickers: 3-5 inches
- Wall art: Measure your frame or wall space first
A good rule of thumb: if the design has fine details, cut it larger. Tiny intricate cuts are the #1 cause of weeding frustration. A design that’s impossible to weed at 3 inches might be easy at 6 inches.
Step 5: Choose Your Vinyl and Cut
Vinyl types
Pick your vinyl based on the project:
- Permanent adhesive vinyl (Oracal 651, Cricut Premium Permanent): For mugs, tumblers, car windows, outdoor use. Waterproof and durable. Apply with transfer tape.
- Removable adhesive vinyl (Oracal 631, Cricut Premium Removable): For walls, laptops, temporary decorations. Easy to reposition and remove cleanly.
- Heat transfer vinyl / HTV (Siser EasyWeed, Cricut Everyday Iron-On): For t-shirts, bags, hats, fabric. Applied with a heat press or iron. Important: mirror your design before cutting.
Cut settings
- In Design Space, click Make It
- Select your material (or use Custom and search for your vinyl brand)
- For adhesive vinyl, place it color side up on the mat
- For HTV, place it shiny carrier sheet side down on the mat
- If your first cut doesn’t go through cleanly, increase pressure by one setting and run it again. Don’t increase blade depth unless pressure alone isn’t working
The mirror rule for HTV
If you’re cutting heat transfer vinyl, you must mirror your design before cutting. In Design Space, toggle “Mirror” to ON on the Prepare screen (the mat preview after clicking Make It). If you forget, your design will be backwards on the shirt. Everyone makes this mistake once.
Step 6: Weed Your Design
Weeding is removing the excess vinyl from around your cut design. This is where the quality of your SVG really matters.
Why AI-converted SVGs are easier to weed
Because the AI produces clean, intentional paths (instead of tracing every shadow and artifact), you get:
- Fewer tiny fragments to pick out
- Smooth curves instead of jagged edges
- No random dots from JPEG compression
- Lines that actually follow the design, not the noise
Weeding tips
- Use a bright light or a light pad underneath. Being able to see your cut lines clearly makes everything faster
- Start from a corner and peel the excess vinyl away from the design at a low angle
- Use a weeding hook for small interior pieces (like the inside of letters)
- Go slow around fine details. Rushing causes tearing
- If a piece lifts, press it back down with your hook and re-cut that section with an X-acto knife
- Scale up your design if weeding is too difficult. Most weeding problems are really sizing problems
Step 7: Apply Your Decal
For adhesive vinyl (mugs, tumblers, laptops)
- Apply transfer tape: Lay transfer tape over your weeded design, burnish firmly with a scraper or credit card
- Peel the backing: Flip it over and peel the paper backing away slowly at a low angle. The vinyl should stick to the transfer tape
- Position and apply: Place the design on your clean, dry surface. Burnish again firmly through the transfer tape
- Remove transfer tape: Peel the transfer tape away slowly. If vinyl lifts, press it back down and burnish more
- Final burnish: Go over the applied vinyl one more time with the scraper for maximum adhesion
Pro tip: For curved surfaces like mugs and tumblers, make small relief cuts in the transfer tape so it can conform to the curve without wrinkling.
For HTV (t-shirts, fabric)
- Preheat your heat press or iron to the temperature specified by your HTV brand (usually 305-315F for most brands)
- Pre-press the shirt for 3-5 seconds to remove moisture
- Position your weeded design face-up on the shirt (the carrier sheet should be on top)
- Press for the time and temperature specified by your vinyl brand (typically 10-15 seconds at medium-firm pressure)
- Peel the carrier sheet. Some HTV is hot-peel (remove while hot), some is cold-peel (let it cool first). Check your brand’s instructions
- Cover and re-press for 3-5 seconds to ensure full adhesion
Troubleshooting Common Issues
“The SVG has too many small pieces”
Try converting with the Bold line weight setting, or scale up your design before cutting. You can also open the SVG in the editor and delete tiny fragments manually.
“The design doesn’t look like my photo”
For complex or low-contrast images, try the High quality setting. It spends more time analyzing the image and produces cleaner paths. Also make sure your source photo is high resolution and well-lit. Cropping tight around the subject helps too.
“Vinyl is tearing during weeding”
Your blade might be cutting too deep (through the backing paper) or not deep enough (not fully through the vinyl). Do a test cut first. Also check that you’re using the correct material setting in Design Space.
“Transfer tape won’t pick up the vinyl”
Burnish harder and longer. If that doesn’t work, the vinyl might not be cut all the way through. Some brands of removable vinyl are also less tacky and need more aggressive transfer tape.
“HTV is peeling after washing”
Make sure you pressed at the correct temperature and time for your specific brand. Pre-washing the shirt (without fabric softener) helps adhesion. Let the garment cool completely before the first wash, and always wash inside-out on cold.
How Does AI Compare to Other Methods?
| Method | Time | Cost | Quality | Skill needed |
|---|---|---|---|---|
| Cricut Design Space trace | 15-45 min | Free | Basic, lots of artifacts | Medium |
| Inkscape manual trace | 30-120 min | Free | Good if skilled | High |
| Photopea vectorizer | 20-40 min | Free | Good with practice | High |
| Vector Magic | 2 min | $9.95/mo | Good | Low |
| Lineart.ink AI | 30 seconds | Free to start | Clean, weedable paths | None |
The traditional approach (Photopea vectorizer, Inkscape tracing, Design Space cleanup) can produce good results, but takes 30-120 minutes of manual work per image and requires learning multiple tools. AI conversion gets comparable or better results in seconds with zero learning curve.
Related Guides
- New to cutting machines? Read PNG vs SVG: Why Your Cutting Machine Needs Vector Files to understand the file format basics
- Want to turn kid art into decals? Check out Turn Your Kid’s Drawing into a Vinyl Decal with Cricut
- Comparing tools? See our Best Image to SVG Converters Compared
- Selling designs? Learn How to Create Text-Based SVGs for Print on Demand
- Made for Cricut: Convert photos to cut-ready SVGs for Cricut & Silhouette
Ready to Try It?
Sign up for free and get 100 credits - enough for 5 conversions with the Normal setting or 2 with High quality. No credit card required, no subscription needed.
100 free credits. No credit card required.
Convert Your First Photo