Turn Your Kid's Drawing into a Vinyl Decal with Cricut
Kids’ drawings are precious, but paper fades, gets crumpled, and eventually disappears into a drawer. What if you could turn that crayon masterpiece into something permanent?
With a Cricut (or Silhouette) and a clean SVG file, you can put your child’s actual artwork on mugs, t-shirts, ornaments, wall signs, tote bags, and more. One drawing becomes dozens of gifts.
In this guide, we’ll walk through the full process: photographing the artwork, converting it to a cut-ready SVG, and turning it into a finished vinyl project.
What You’ll Need
- Your child’s drawing (on plain white unlined paper)
- A phone to photograph it
- A free Lineart.ink account
- Cricut or Silhouette cutting machine
- Vinyl: permanent adhesive (for hard surfaces) or HTV/iron-on (for fabric)
- Transfer tape (for adhesive vinyl projects)
- Weeding tools
- Scraper or old credit card
Before You Start: Set Your Kid Up for Success
Not all drawings convert equally well. You don’t need to control what your kid draws, but the drawing materials make a huge difference:
Use thick black markers. Crayola broad-tip markers, thick Sharpies, or paint markers on white paper produce the cleanest traces. The bold, high-contrast lines give the converter a clear signal to work with.
Avoid light pencil, thin crayons, or colored pencils. These produce faint, low-contrast marks that are hard for any tool to trace cleanly. Light pencil marks especially tend to disappear during conversion.
Use plain white unlined paper. Lined notebook paper is a common mistake. The lines will trace into the SVG alongside the drawing, creating a mess of cut paths you’ll have to manually delete.
Simple subjects work best. A single character, animal, or object converts much better than a complex scene with lots of overlapping elements. If your kid draws a whole family scene, consider cropping to one figure at a time.
That said, don’t stress about it. Kids’ art is supposed to be imperfect. The charm is in the wobbly lines and lopsided smiles.
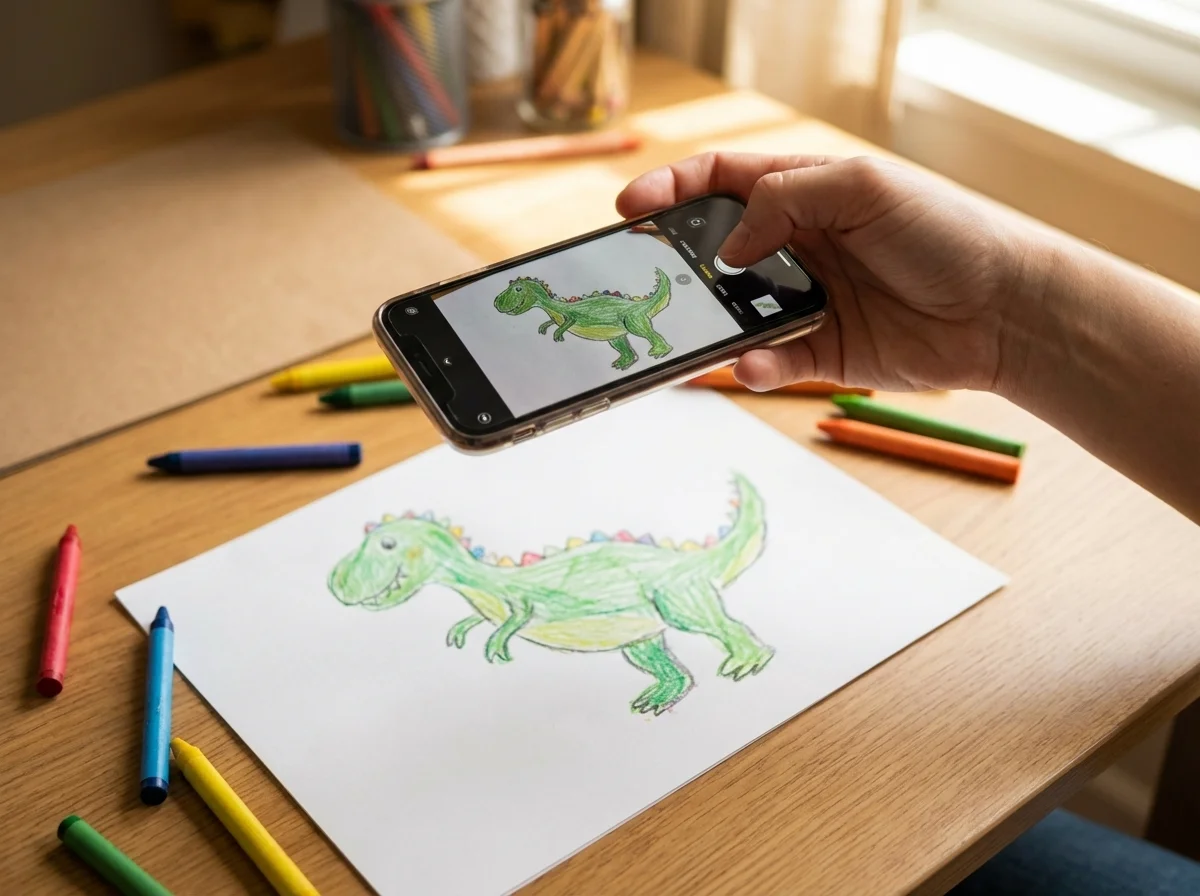
Step 1: Photograph the Drawing
A good photo makes everything easier. A bad photo creates problems at every step.
Lighting
- Use natural, indirect light. Photograph near a window on a cloudy day, or with a sheer curtain diffusing direct sun
- Turn off interior lights to avoid mixed color temperatures that create uneven exposure
- Lighting must be even across the entire page. If one side is brighter than the other, parts of the drawing may wash out during conversion
- Avoid shadows falling across the paper. Your hand, phone, or nearby objects can cast shadows. Use a white foam board or sheet of paper as a bounce card to fill in any dark spots
Camera angle
- Shoot straight down from directly above the drawing, keeping your phone parallel to the paper
- Fill the frame so the drawing takes up most of the photo
- Avoid angles. Even a slight tilt causes perspective distortion that can stretch the final result
What if the drawing is wrinkled or textured?
Photography works better than scanning for wrinkled paper, drawings with stickers, or anything with texture. A scanner presses flat and can smear crayon or marker, while a photo captures the art without contact.
Don’t worry about perfection. The AI is surprisingly good at separating the drawing from the paper background, even with moderate shadows or uneven lighting.
Step 2: Convert to SVG
Upload the photo to lineart.ink. The AI will:
- Identify the actual drawing and separate it from the paper background
- Filter out paper texture, scanner noise, and light pencil smudges
- Clean up lines while preserving the childlike character
- Convert everything to smooth, cut-ready vector paths
Settings
- Line Weight: Medium is a good starting point. If the result has too many tiny details that will be hard to weed, switch to Bold
- Quality: Normal (20 credits) works well for most kid drawings. Try High (50 credits) if the drawing has lots of fine detail or light marks
Why this works better than Design Space’s trace
Cricut Design Space has a built-in upload and trace tool, and many crafters try it first. The problem is that Design Space’s background removal and tracing struggle with exactly the kind of images kid drawings produce: low contrast crayon on off-white paper, uneven lighting, paper texture, eraser smudges.
The result is usually a messy trace full of stray dots, broken lines, and paper texture artifacts that require extensive manual cleanup. Crafters commonly report spending 30+ minutes erasing artifacts and simplifying paths in Design Space or Inkscape.
The AI approach skips all of that. It understands what’s a drawing and what’s background noise, producing clean paths in seconds.
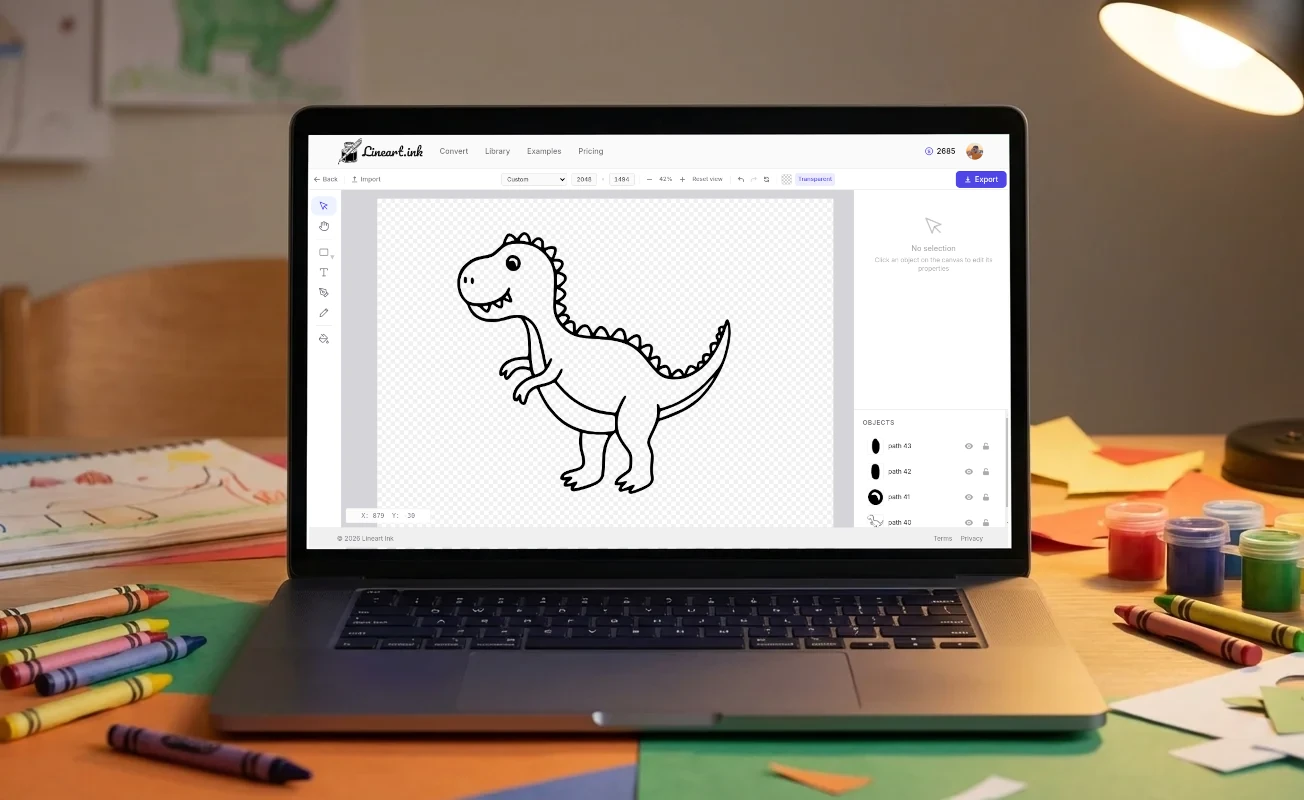
Step 3: Quick Edits (Optional)
Open the SVG in Lineart.ink’s editor to make any tweaks:
- Remove stray marks the AI may have picked up
- Add text: your child’s name, age, or a date. This is especially nice for keepsake projects like yearly ornaments
- Adjust line thickness if lines are too thin for easy weeding at your target size
Most conversions from bold marker drawings won’t need any editing. But if your source was a lighter pencil drawing, a quick cleanup pass can help.
Step 4: Import into Design Space and Cut
- In Cricut Design Space, click Upload then Upload Image
- Select your SVG file, give it a name, and click Upload. Since it’s already an SVG, there’s no tracing step needed. The design is added to your canvas automatically
- Resize generously. This is important: kid drawings often have thin, irregular lines that become impossible to weed at small sizes. What looks great on screen at 3 inches might be a weeding nightmare. Start at 5-6 inches and go larger if the design has fine details
- Click Make It, select your material, and cut
Material tips
- For adhesive vinyl, place it color side up on the mat
- For HTV/iron-on, place it shiny carrier sheet side down on the mat, and mirror your design on the Prepare screen
- Make sure your blade is sharp. A dull blade will tear rather than cut the thin irregular lines typical of children’s artwork. If your first cut has ragged edges, try a new blade before anything else
- Do a test cut first on scrap material, especially with intricate kid art
Step 5: Weed and Apply
Weeding tips for kid art
Kid drawings produce some of the trickiest weeding jobs because the lines are irregular and unpredictable. A few tips that help:
- Weed soon after cutting. Don’t let the vinyl sit on the mat for hours. Cut pieces can shift, and exposed adhesive can stick to itself, making small details harder to pick out cleanly
- Use a bright light or light pad. Being able to clearly see the cut lines is half the battle
- Go slow around thin lines. Kid art has unexpected thin spots that can tear if you rush
- Try reverse weeding for very intricate designs. Instead of picking out the negative space, apply transfer tape to the entire sheet, flip it over, and peel away the backing paper. Then remove the waste pieces from the front. This keeps delicate parts stuck to the transfer tape instead of lifting with the waste
Applying adhesive vinyl
- Apply transfer tape over your weeded design, burnish firmly
- Peel the paper backing away slowly at a low angle
- Position on your clean, dry surface and burnish through the transfer tape
- Peel the transfer tape slowly. If vinyl lifts, press it back down and burnish more
Applying HTV / iron-on
- Preheat your heat press or iron to the temperature specified by your brand (usually 305-315F)
- Pre-press the garment for 3-5 seconds to remove moisture
- Position your weeded design face-up on the garment (carrier sheet on top)
- Press for 10-15 seconds at medium-firm pressure
- Peel the carrier sheet (hot or cold peel depending on your brand)
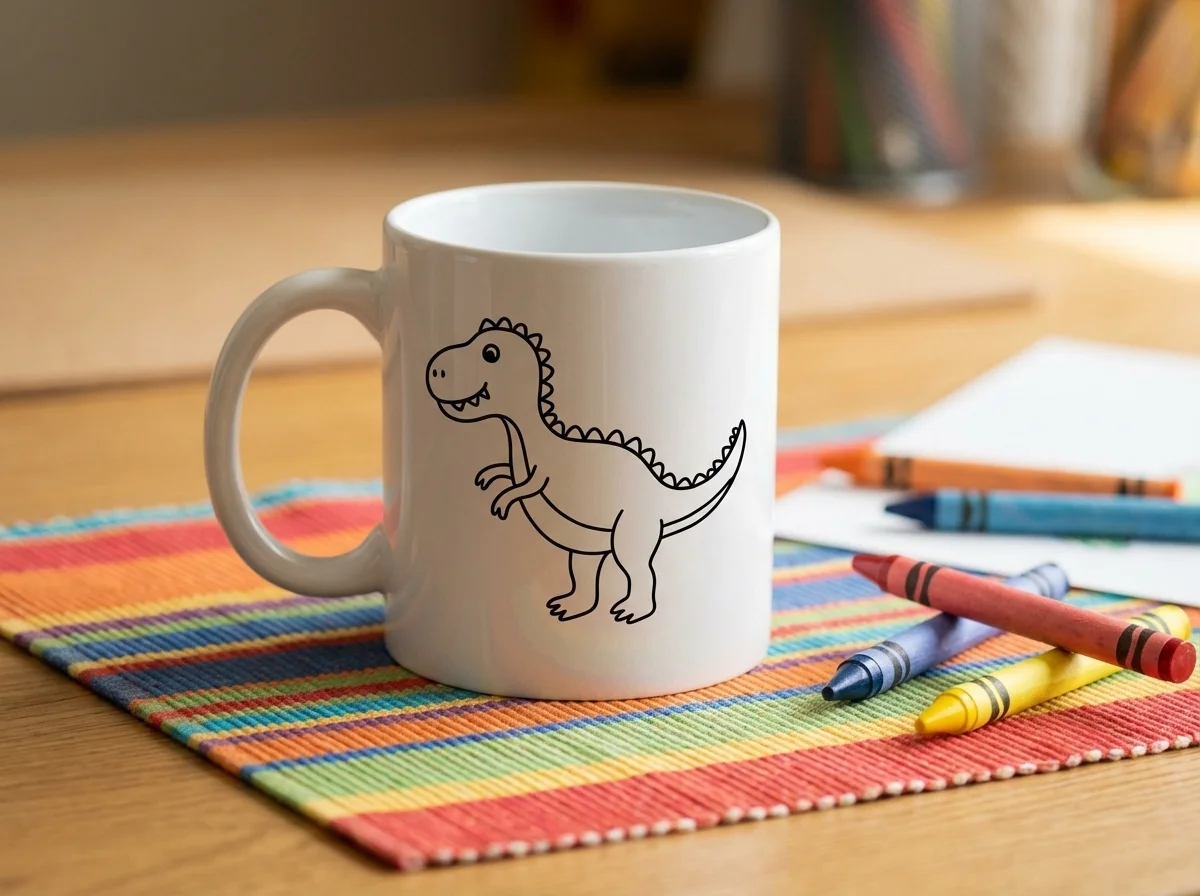
Project Ideas
Once you have the SVG, you can reuse it across as many projects as you want. One drawing becomes an entire gift collection.
Keepsakes and gifts
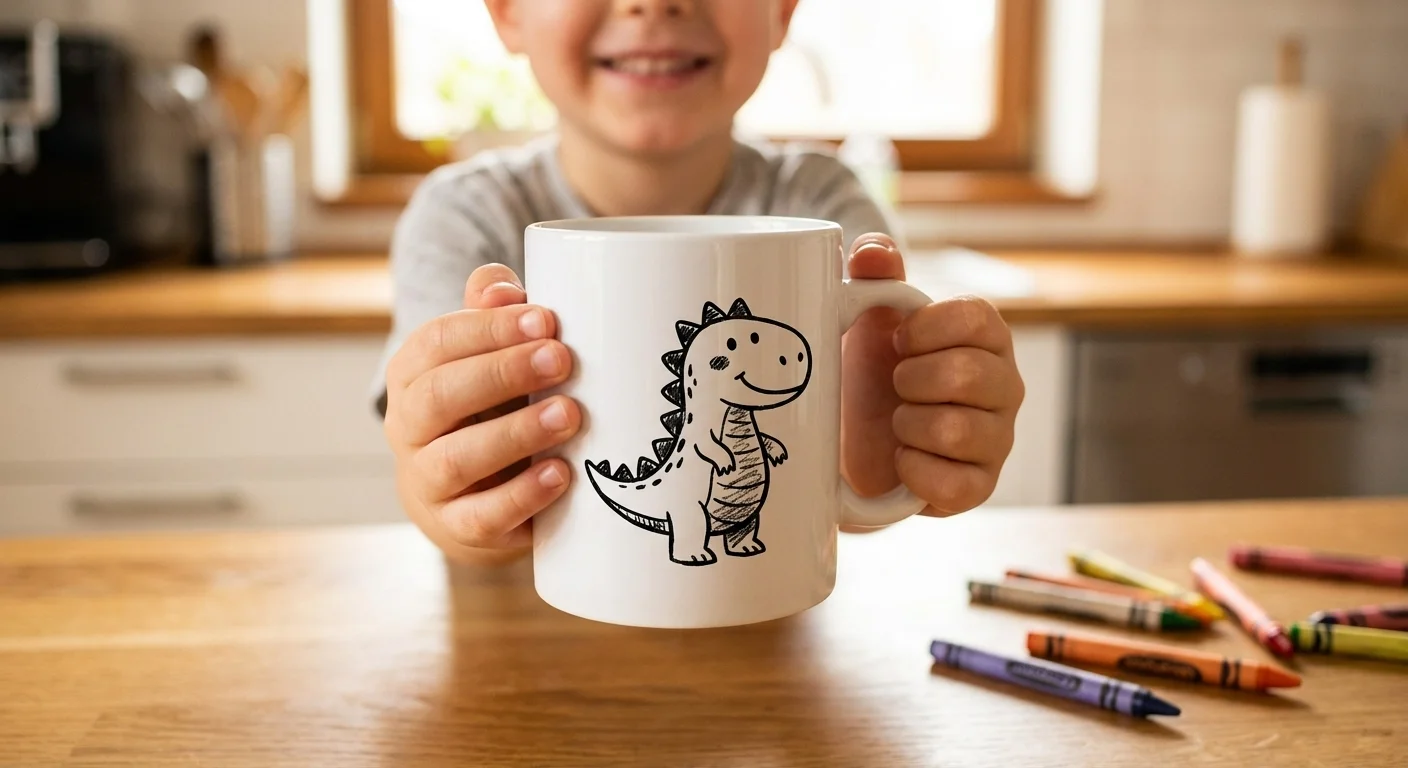
- Grandparent mugs with the child’s drawing and handwriting (“I love you Grandma” in their actual writing). Use permanent vinyl (Oracal 651) for a waterproof, durable result (hand-wash recommended)
- Yearly ornament tradition. One wood slice ornament per child per year, with the date on the back. Creates a growing collection that documents their artistic development. Cheap ceramic tiles from hardware stores (about $0.20 each) also work beautifully as ornaments
- Mother’s Day / Father’s Day mugs featuring kid artwork. The kind of gift that makes people cry (the good kind)
- Framed wall art. Cut from vinyl and apply to a canvas or glass frame. Group several drawings together for a gallery wall
Wearables
- T-shirts with the child’s art in HTV. Kids love wearing their own drawings. The “I drew that!” factor is real
- Tote bags and pencil pouches for back-to-school
- Hats or onesies for baby siblings, featuring the older child’s artwork
Around the house
- Water bottles with permanent vinyl plus a clear coat for durability
- Laptop or tablet stickers using removable vinyl
- Bedroom wall decals featuring their favorite drawings
- Ceramic tile coasters as a set. Great holiday gift from the kids to relatives
Multi-color projects
If the original drawing uses multiple colors, you can cut each color as a separate vinyl layer:
- Convert the drawing to SVG (it will be a single-color outline)
- In Design Space, duplicate the design for each color you want
- Cut each color from different vinyl
- Layer the colored pieces first, then put the black outline layer on last. The outline hides any small alignment errors in the layers beneath
Tips for Success
- Save the original drawing. Once you have the SVG, you can reuse it forever, but the original paper drawing is still special
- Bold markers beat pencils for traceable results every time
- Size up, not down. Bigger is almost always easier to weed and more visually impressive
- One subject per conversion works better than complex scenes. Crop or have your kid draw individual characters
- Don’t over-edit the SVG. The imperfections are what make it charming. A perfectly smooth line isn’t a kid’s drawing anymore
- Permanent vinyl (Oracal 651) for hard surfaces, HTV for fabric. Using the wrong type is the most common beginner mistake
- Date everything. Add the child’s name, age, and year to the design in the editor. You’ll thank yourself later
The Perfect Personalized Gift
Mother’s Day, Father’s Day, grandparent birthdays, teacher appreciation, Christmas. A mug, ornament, or shirt with your kid’s actual drawing on it hits different than anything you can buy.
Related Guides
- Full photo-to-SVG walkthrough: How to Convert a Photo to SVG for Cricut
- Understand file formats: PNG vs SVG: Why Your Cutting Machine Needs Vector Files
- Compare conversion tools: Best Image to SVG Converters Compared
- Sell your designs: How to Create Text-Based SVGs for Print on Demand
- Made for Cricut: Convert photos to cut-ready SVGs for Cricut & Silhouette
Start with a free account. You get 100 credits, enough to convert 5 drawings. That’s 5 projects (or 50 projects, since each SVG is reusable) from one signup.
100 free credits. Enough for 5 drawings.
Convert Your First Drawing